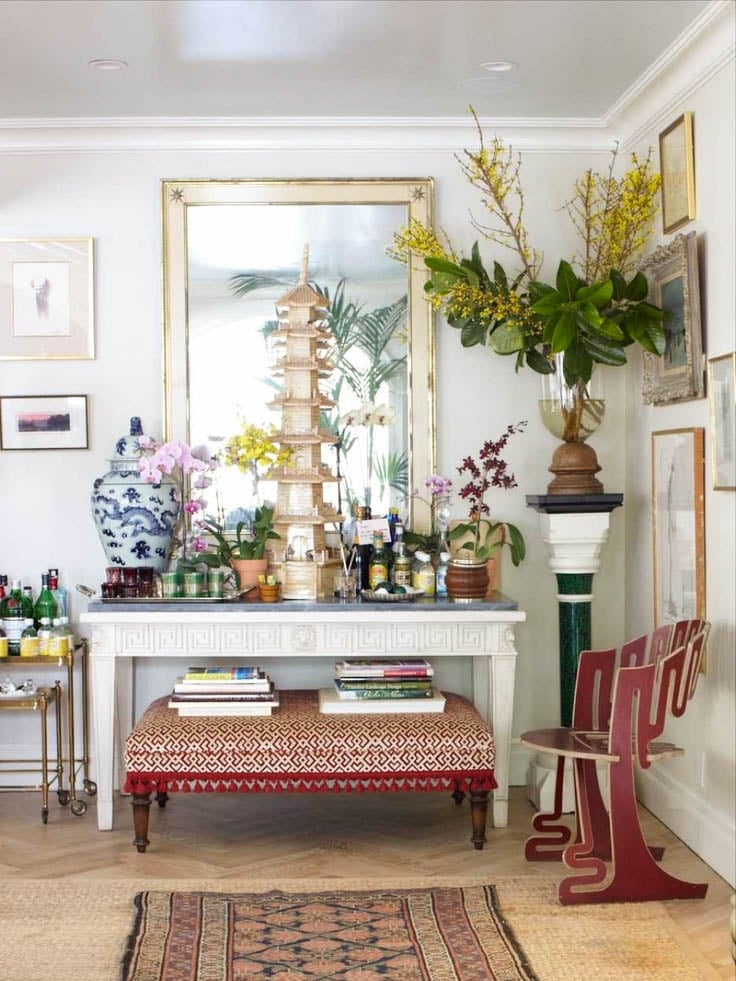
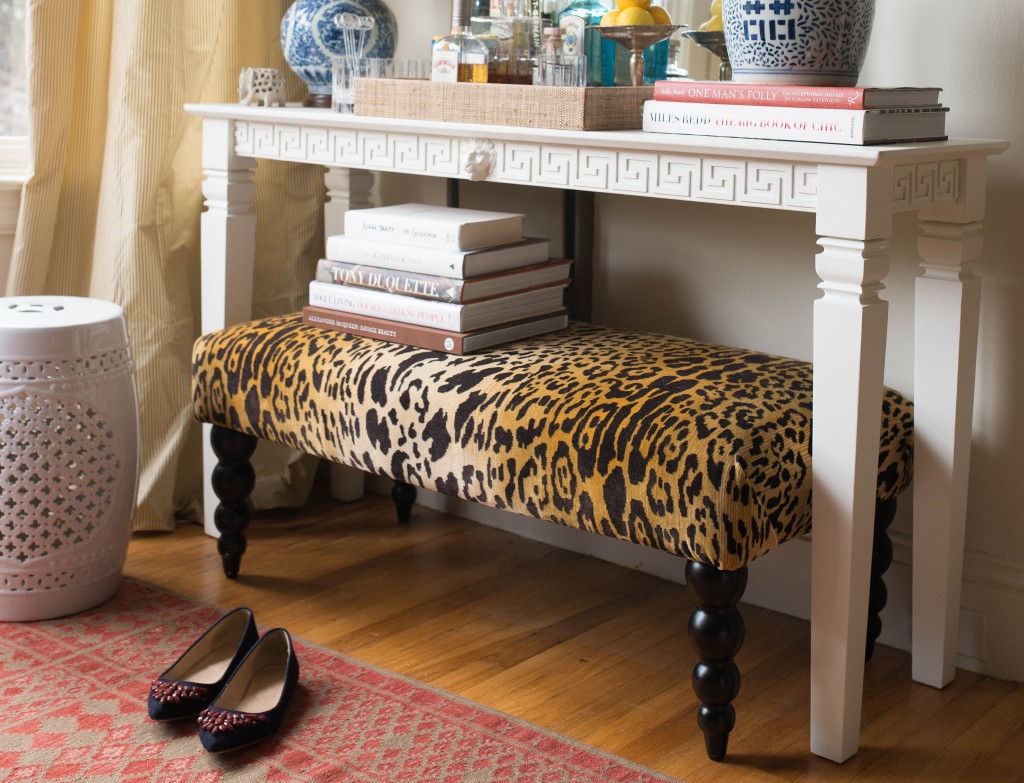
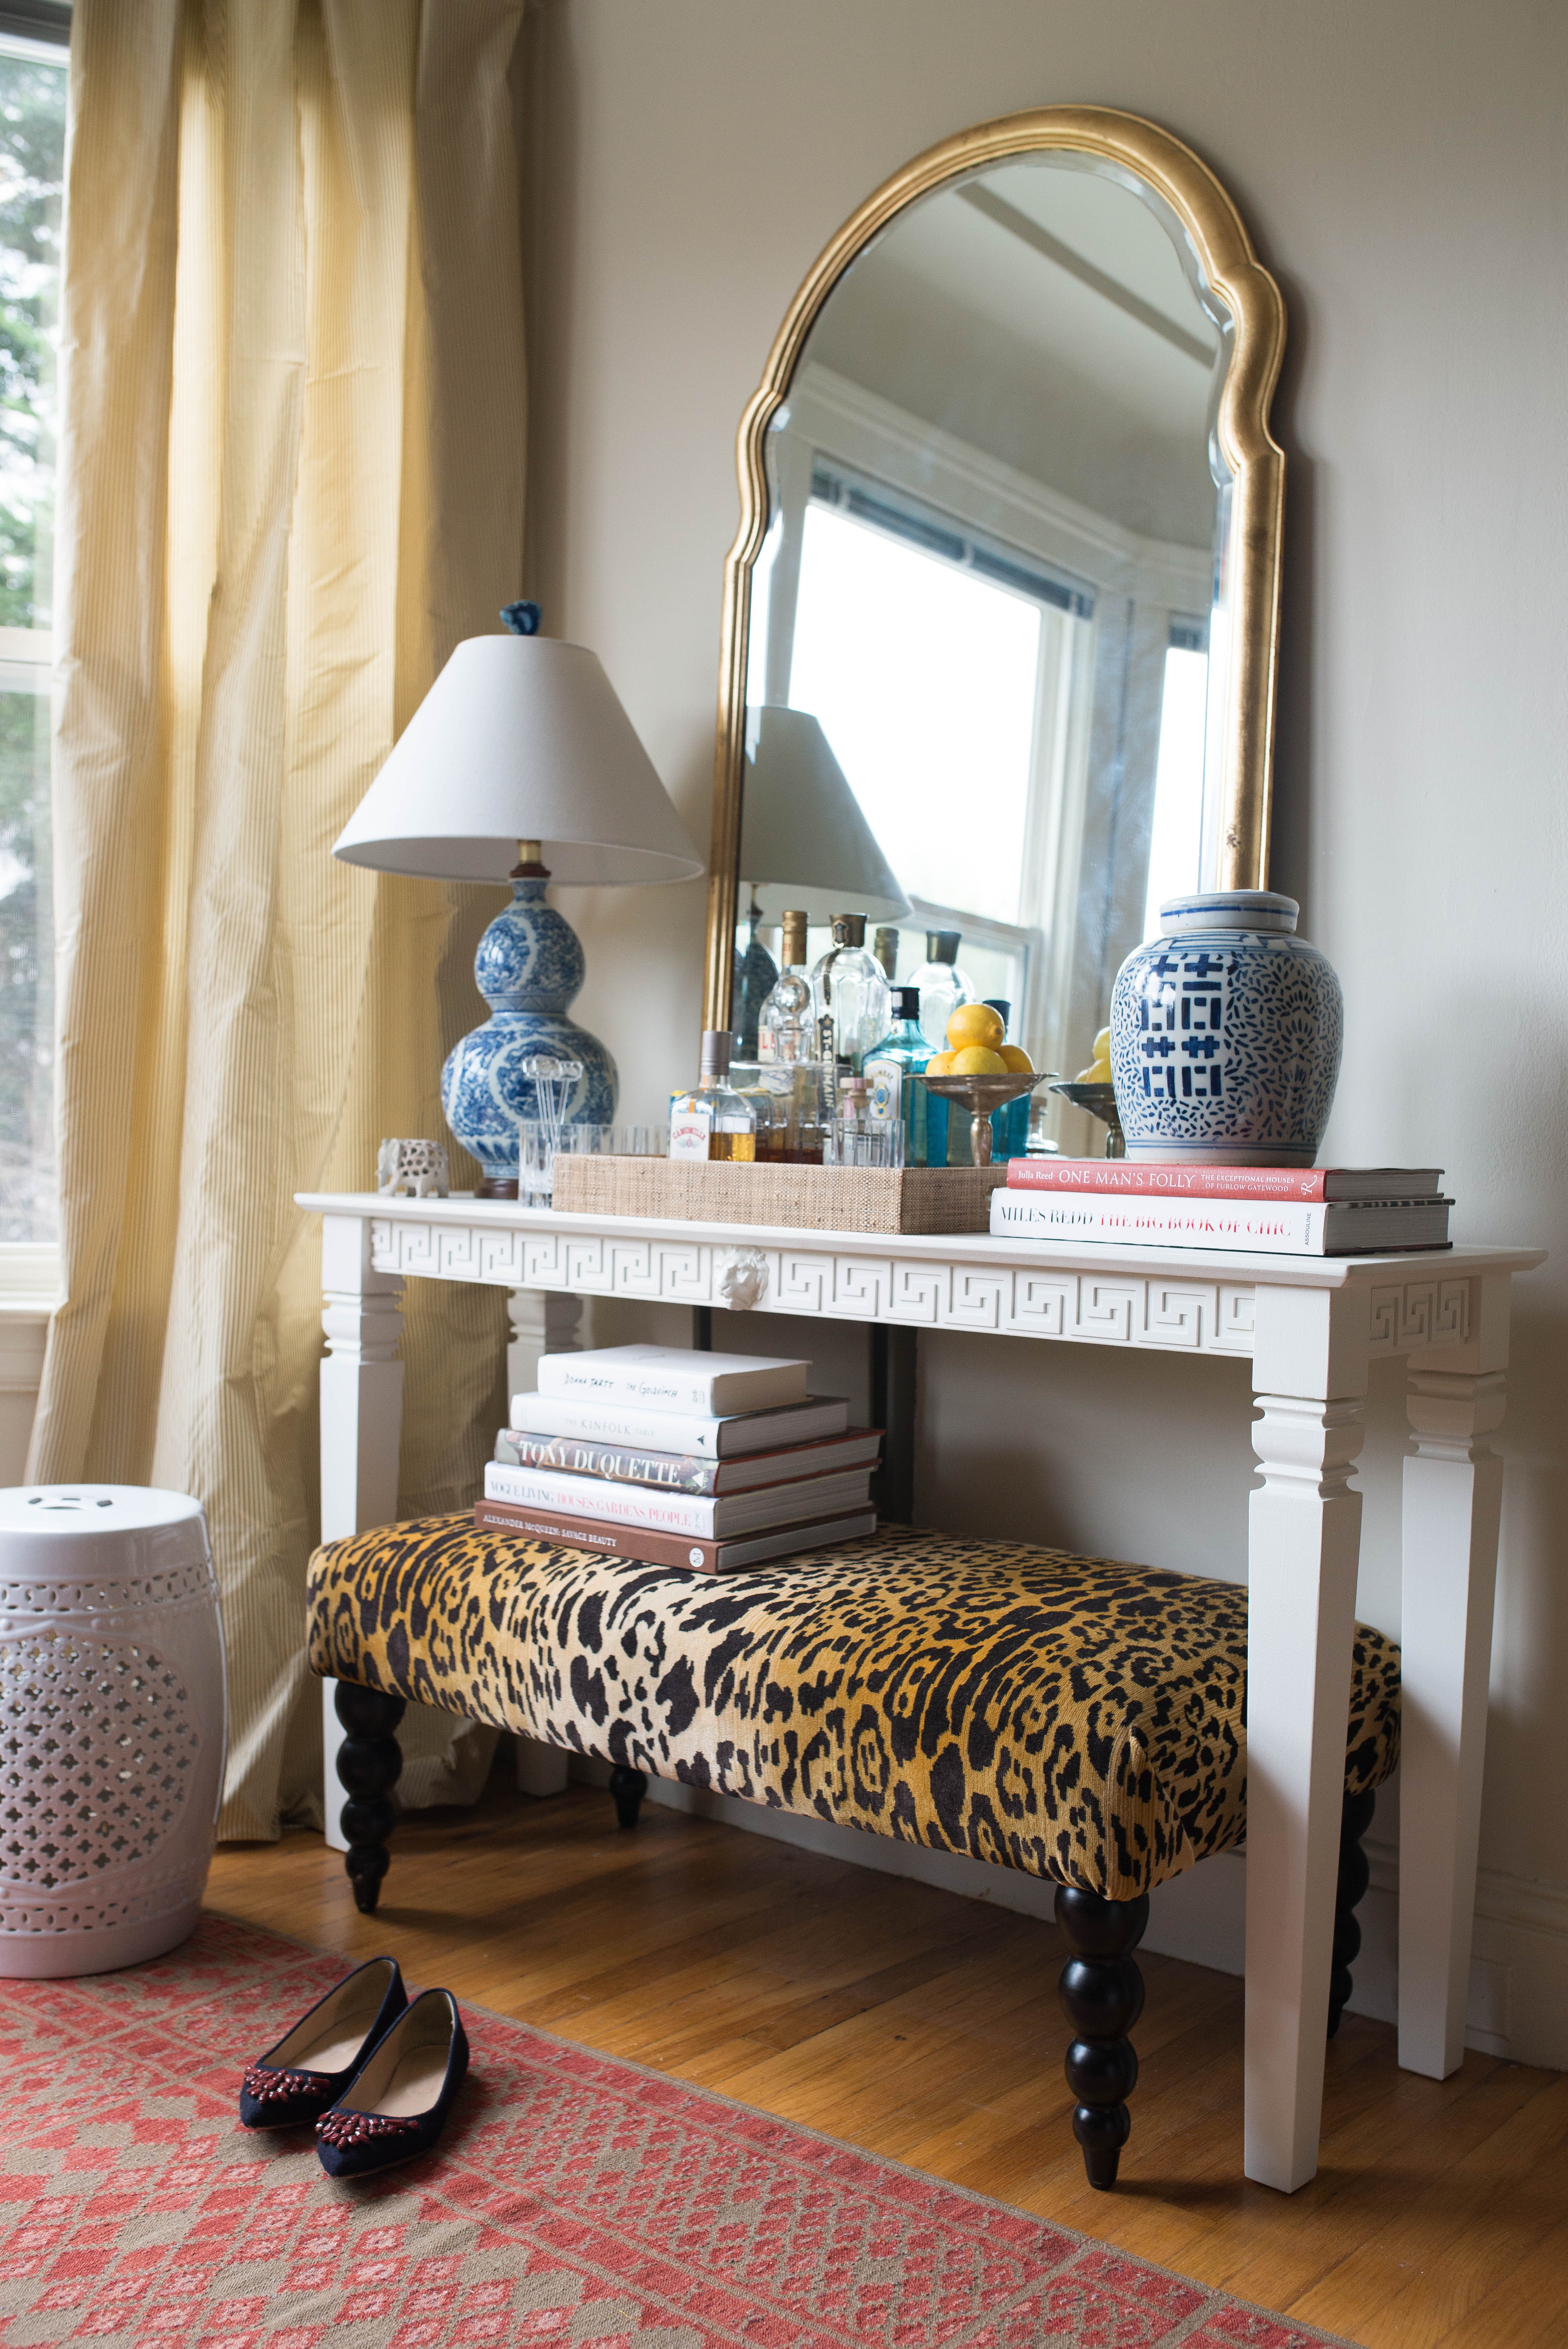
Do you ever come across the perfect piece for your home in a magazine, only to discover it costs 3 grand when you track down the source? That recently happened to me when I saw this console table (below) in Ruthie Sommers's living room. Greek key! A lion's head! Marble! I had to have it.
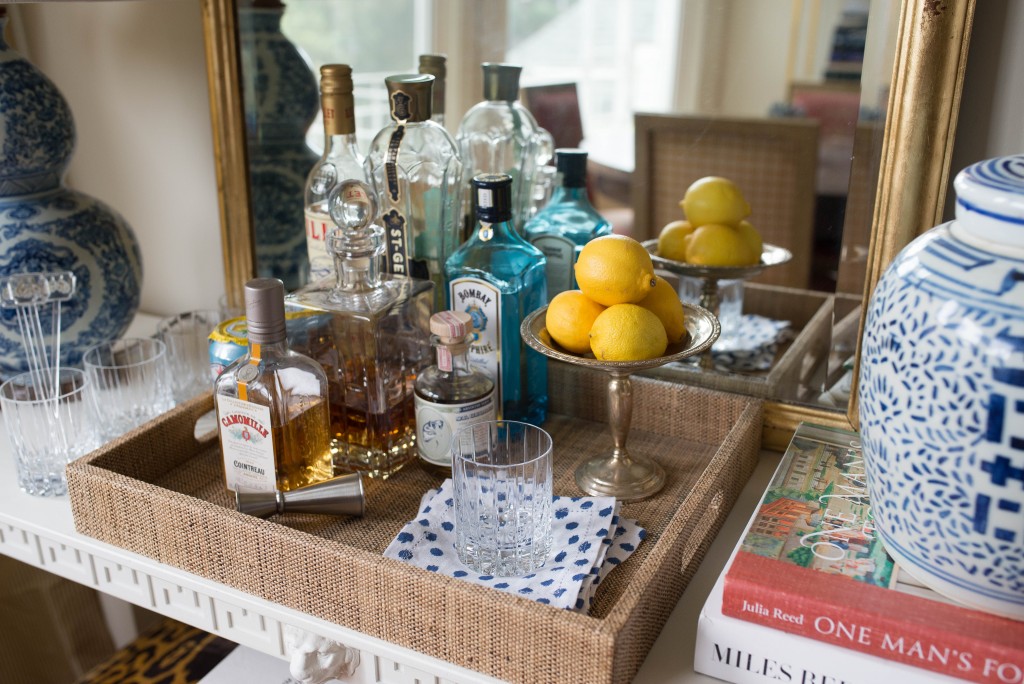
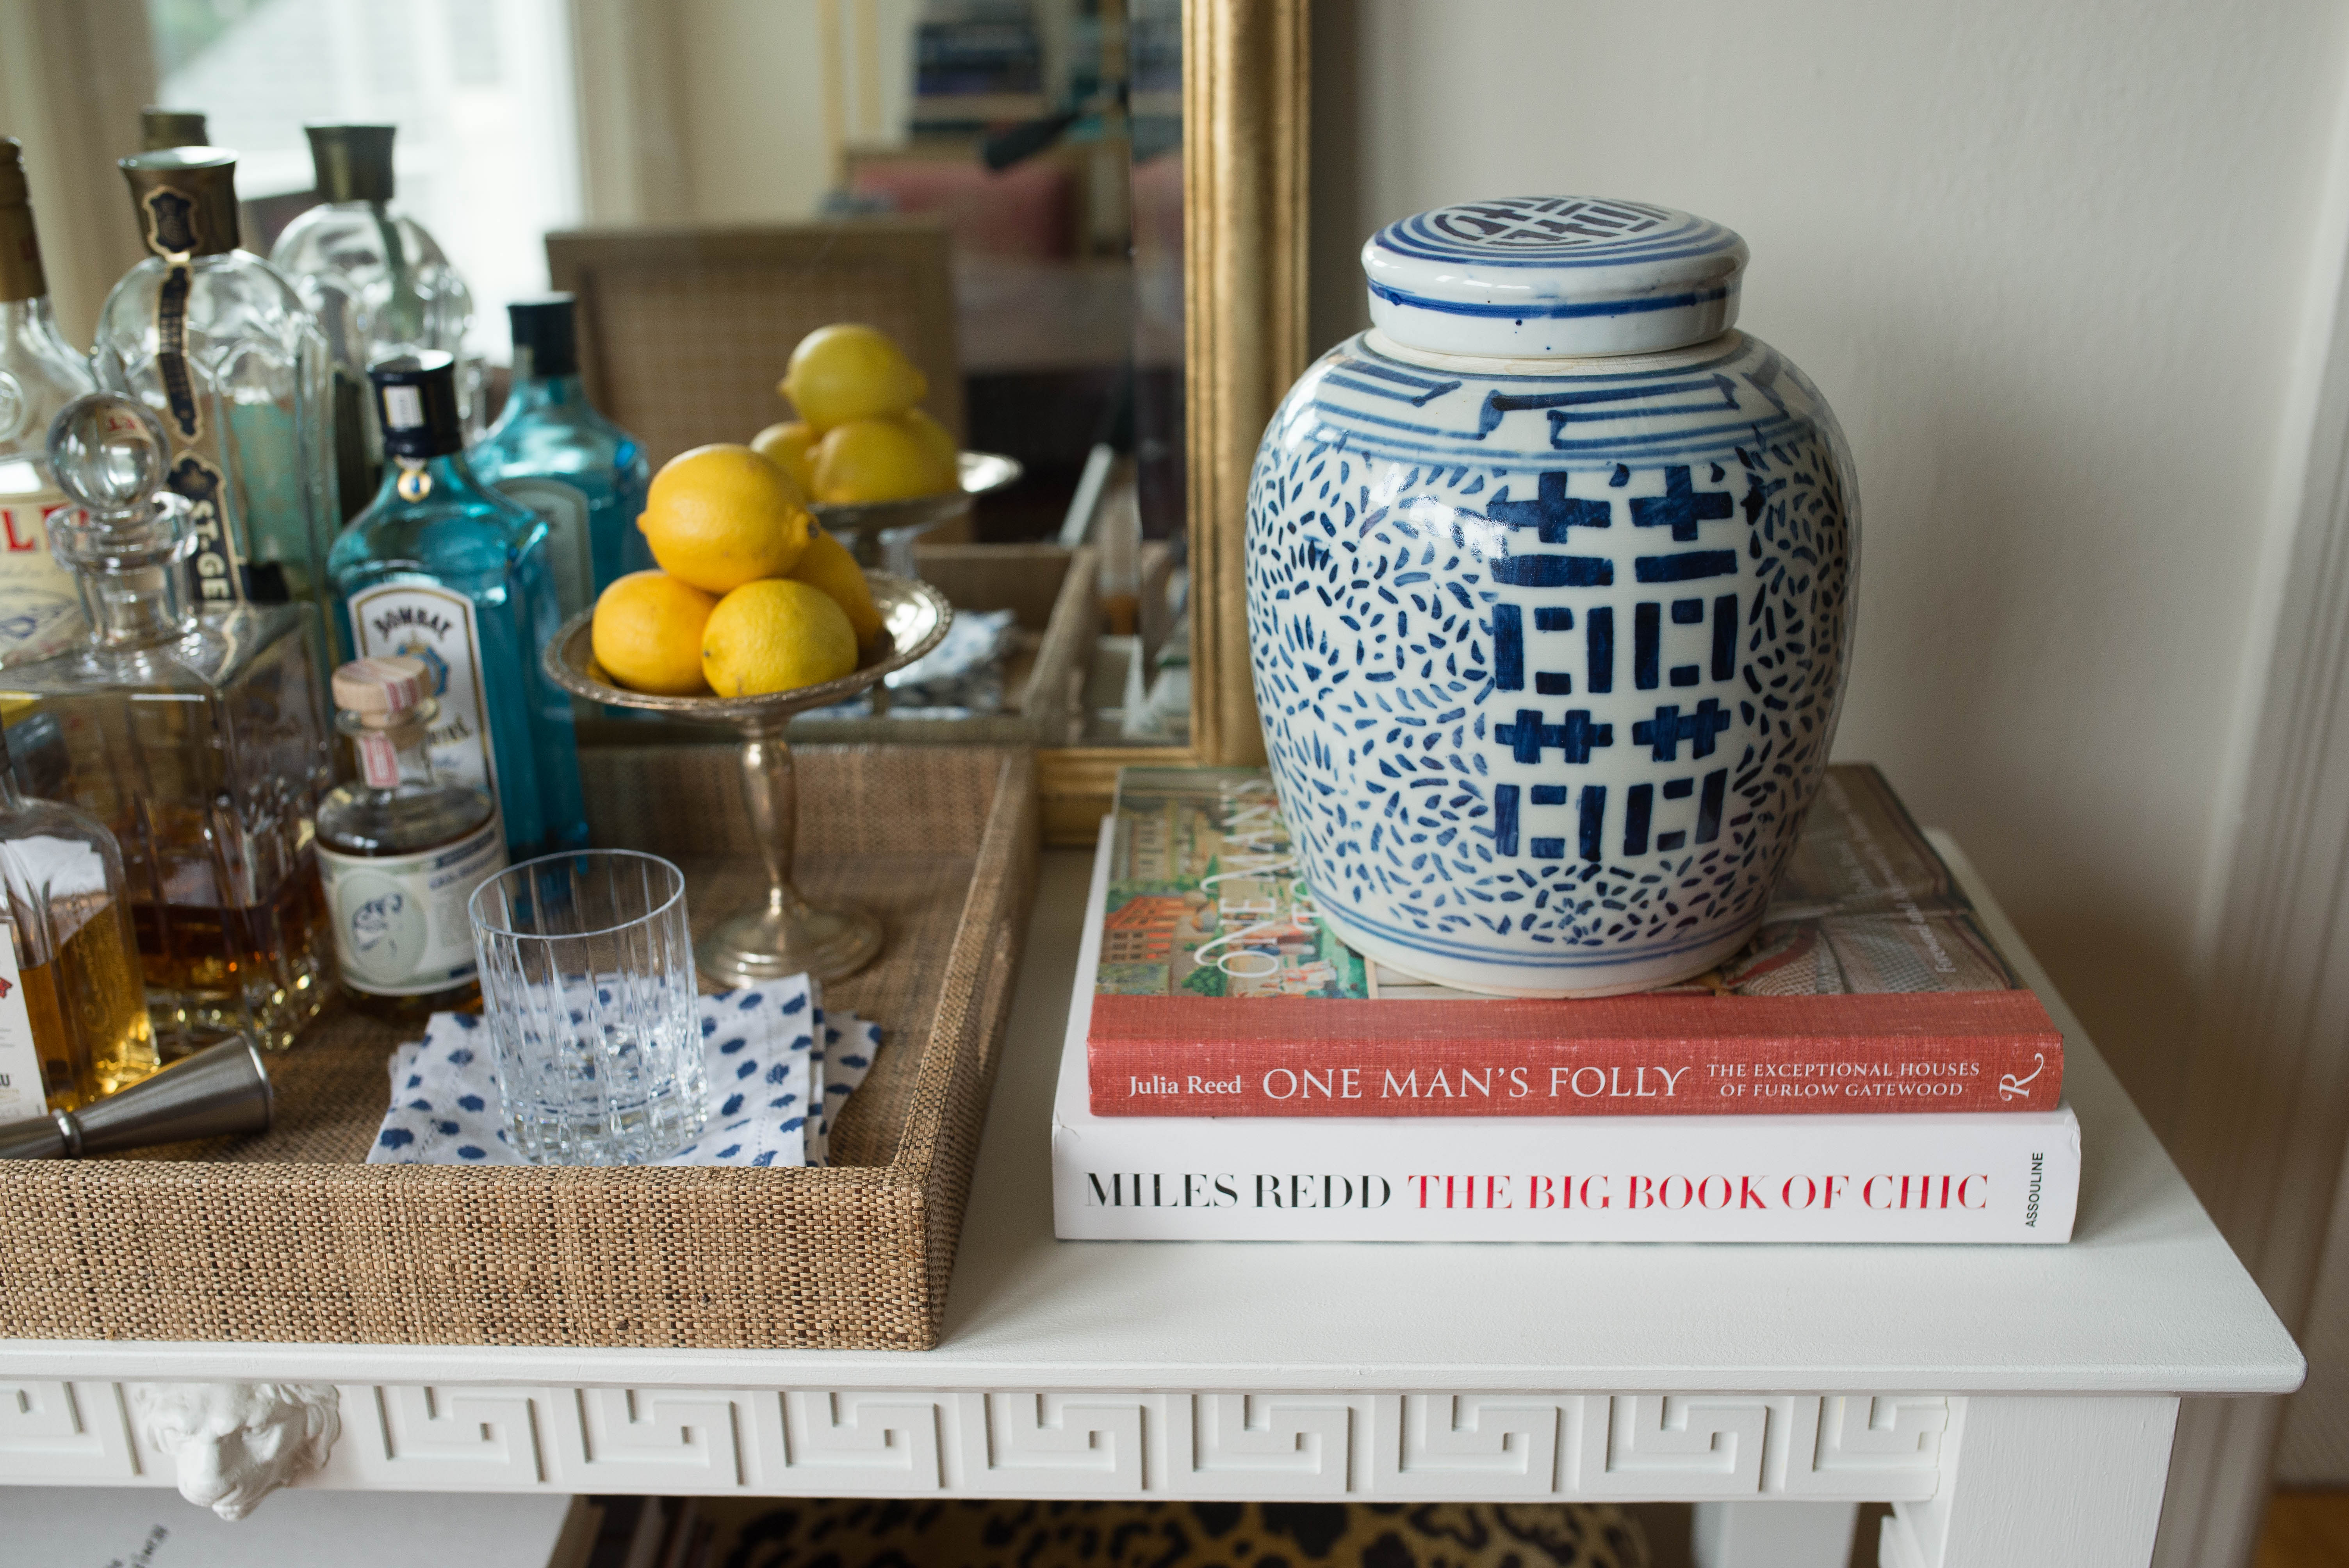
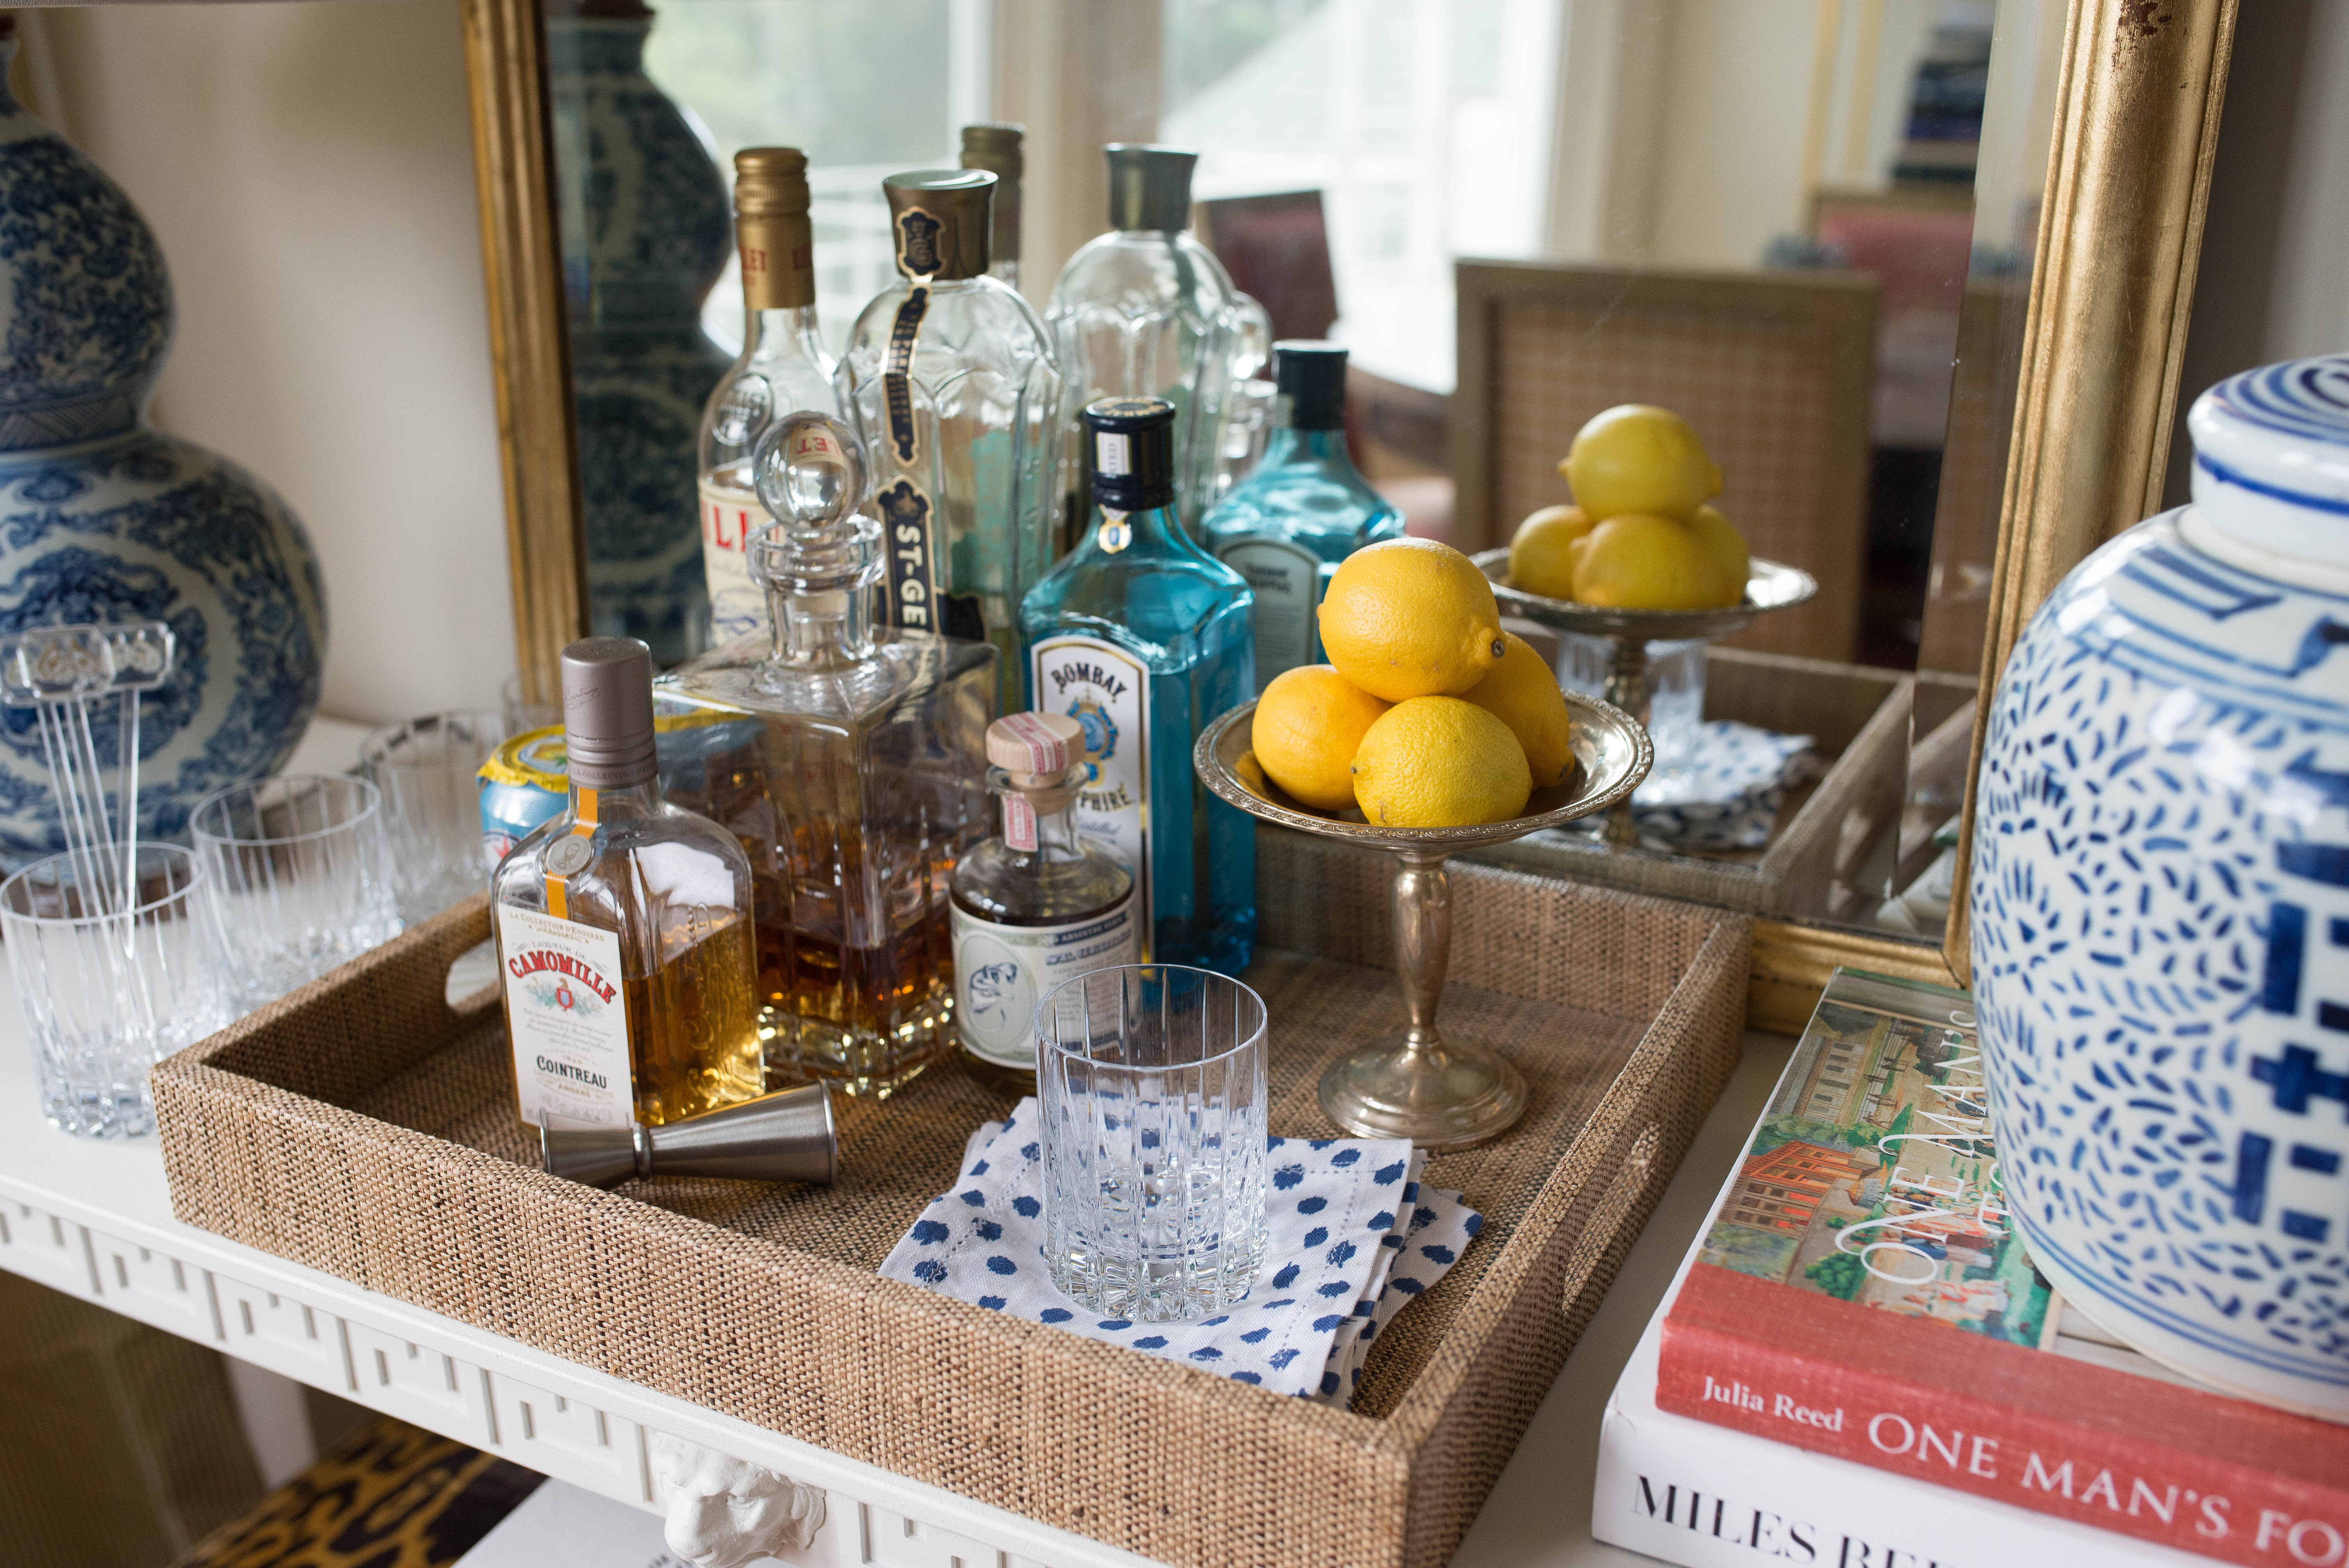
Thankfully, this look can be had for a tiny fraction of the cost (only $200!) if you have some gumption to do it yourself and a free afternoon. I love how Ruthie styled this console to serve as her home bar. We have a bar cart already but it never seems to be big enough to serve as our primary drinks station during parties. I'm excited to decorate my console for the holidays and stock it with mixers for a big cocktail party we're hosting this Friday.
Ready to enjoy a beautiful new drinks station during your upcoming holiday parties? Read on...
DIY Greek Key ConsoleWhat you need.
This Unfinished Pine Table (This one has a 2.5" apron, which works perfectly with the greek key O'verlay below)
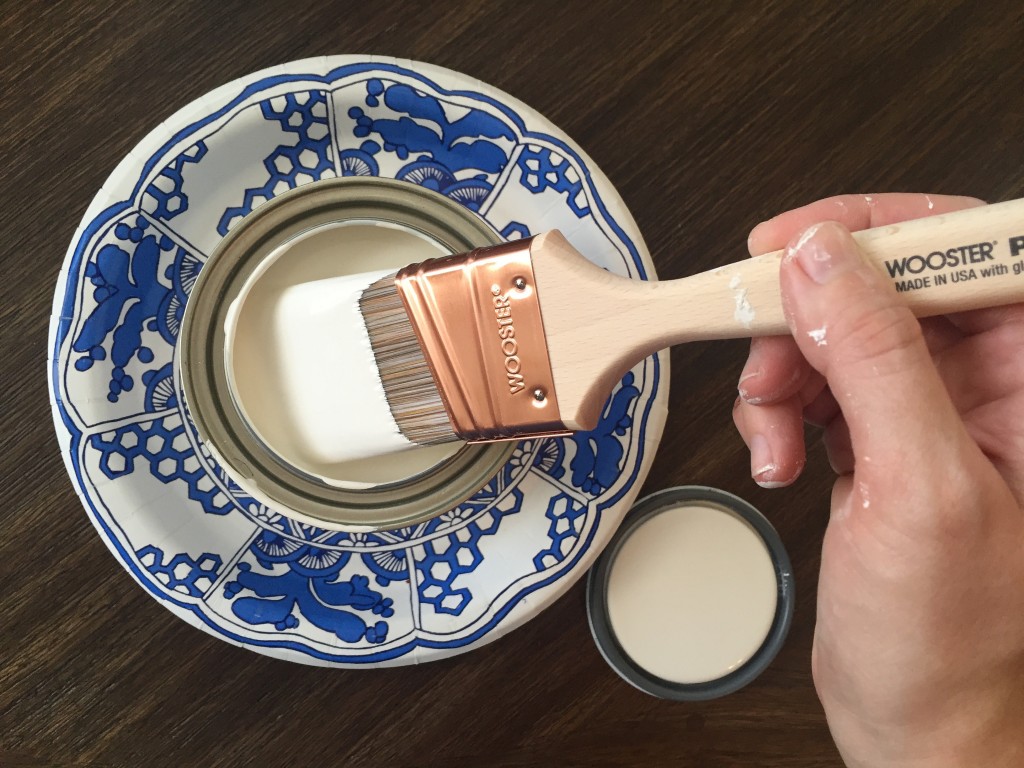
Satin finish interior paint. (I used Behr paint in "Ivory Palace" because it was leftover from another project.)
1" paintbrush
large paint roller
16" x 52" custom cut carerra marble (optional, and recommended you buy local since it's so heavy.)
Minwax Water-based Polycrylic in Satin (optional)
Instructions.
Assemble the table and sand down rough spots. Wipe dust off with a damp cloth. Let dry for at least an hour.
While the table is drying, cut your O'verlays to fit the table aprons. If you include a lion head make sure each side of the O'verlays is symmetric and the "waves" of the O'verlay both roll towards the lion head. If you aren't including a lion head the "waves" will of course all go one direction. Lay your O'verlays on a tarp face up and paint them. Be sure to paint the tiny 1/4" sides of the fretwork as well. Let dry.
Now that the table is smooth and dry, start applying the paint in thin coats, using the brush for the apron and legs, and the roller for the tabletop. I'm usually impatient and don't let the paint dry fully in between coats, but this is where I say, "do as I say, not as I do!" Your table will look more elegant and polished if you take your time applying even coats and letting them dry in between applications. With my Behr paint I did 3 coats. Let dry overnight.
On day 2 glue your painted O'verlays to the apron of the table using a very thin line of carpenter's glue on the back of the O'verlay, and taking time to press the fretwork to the apron firmly. Make sure you don't overdo it on the glue, or it will ooze out from behind the O'verlay and it's hard to wipe away fully. Apply the greek key O'verlays to the front before you glue on the lion's head so you can center everything perfectly. My lion head was heavy-ish so I sat holding it in place for 15 minutes to make sure it didn't slip. Now that I'm thinking about it, I should have laid the table on it's side so I wouldn't have needed to babysit it.
If you splurged on marble for the top - good for you! I'm still waiting for the perfect piece to come in, so without a marble top it's important to finish and seal your table. I recommend Minwax Water-based Polycrylic because, though it looks milky when you apply it, it dries crystal clear and isn't yellow-y at all. (Do NOT use a spray-on product to seal your table. You'll end up with stripes. Ick.)
So that's it! Let me know if you have any questions in the comments section. Or if you would like help styling a table or your entire home for the holidays send me a note through the contact form here. I'm always happy to help!
{Tutorials on the gilt mirror and Scalamandre velvet leopard ottoman coming soon.}
xx, SF
Shop the Look
This content may contain affiliate links. If you shop through my links, I may earn a commission at no cost to you. Thank you for supporting my work!