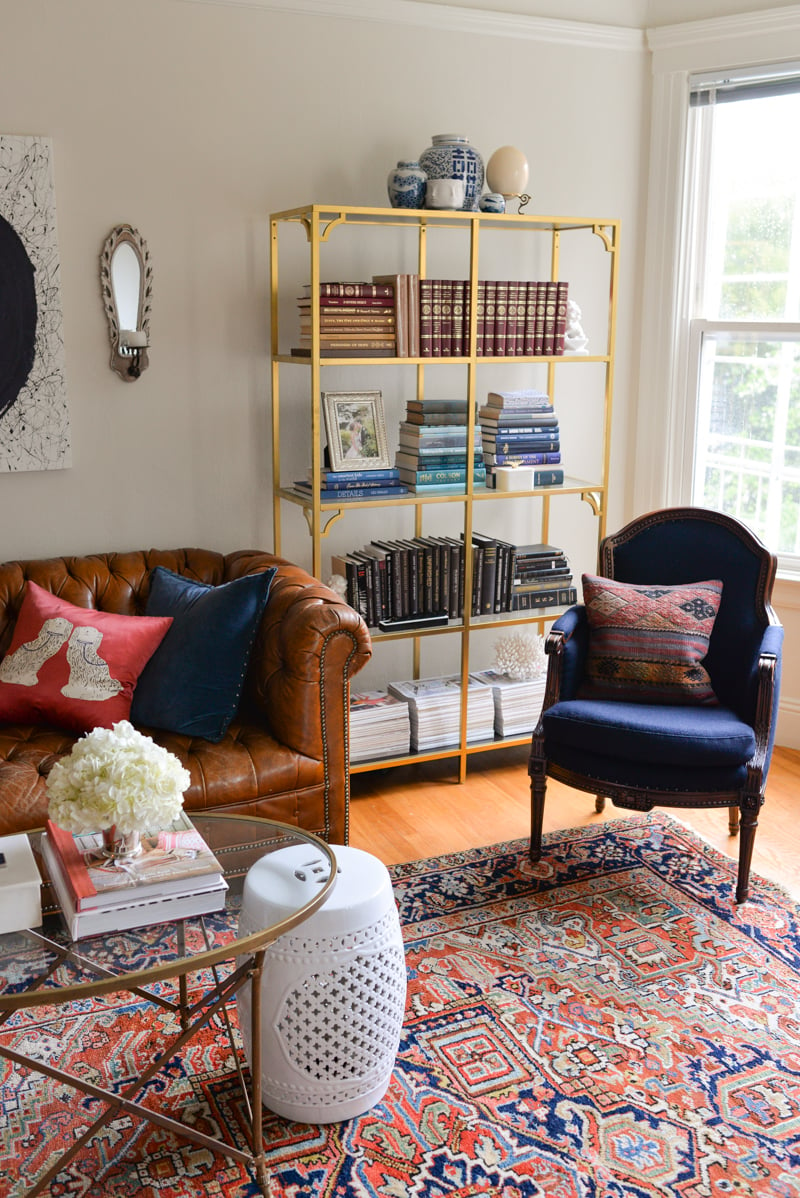
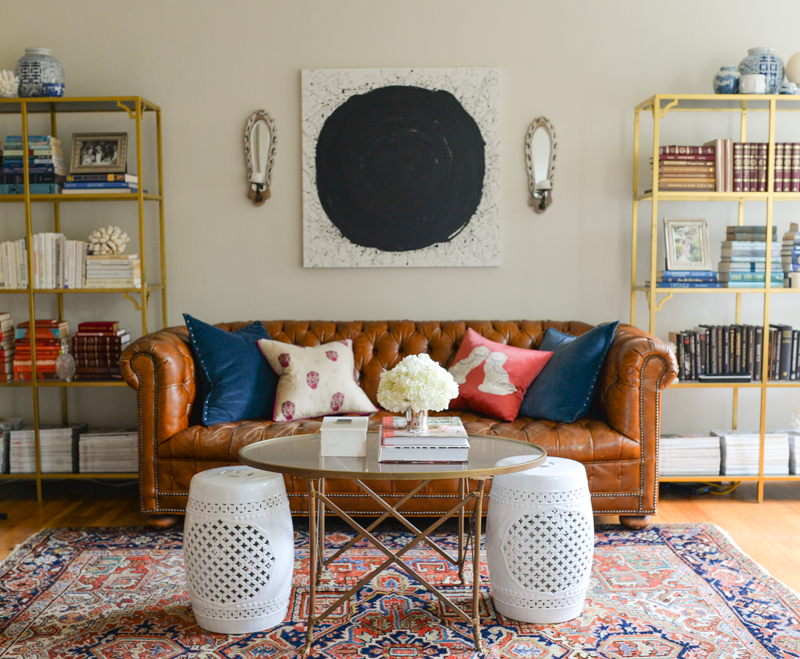
When One King's Lane shared a
photo of my living room on their Instagram earlier this month I was surprised that the most-commented-on feature of the room was a DIY - everyone wanted to know where my fancy étagères were from. My answer? "Ikea!"
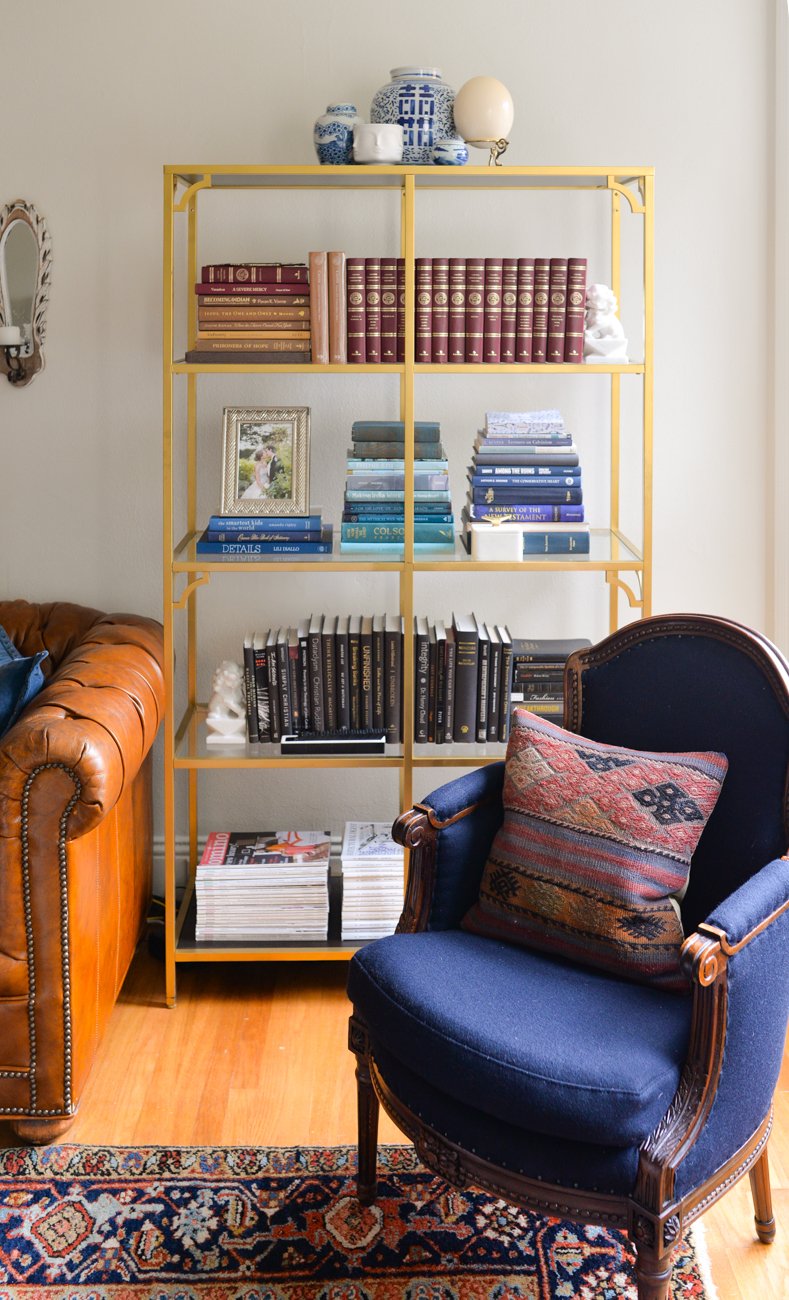
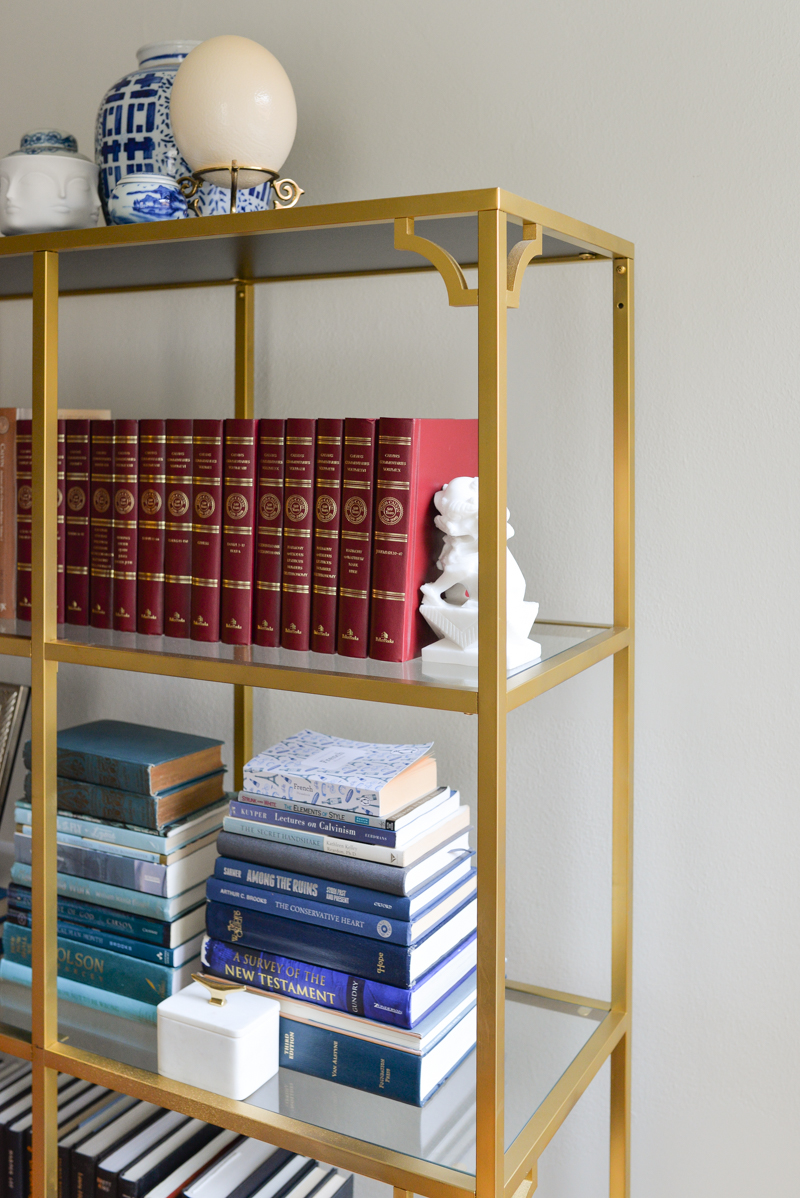
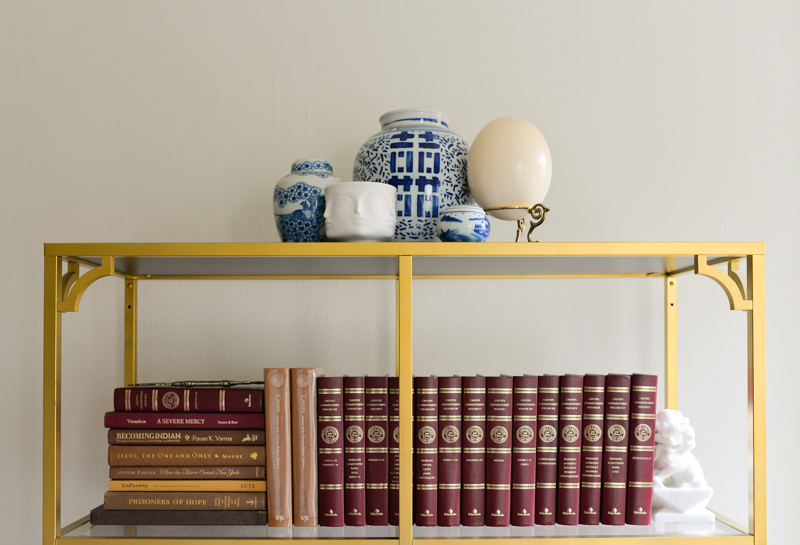
If you're lucky you can find vintage étagères on craigslist, otherwise they can cost $1,200 to upwards of $3,000 new. My search was unsuccessful so I turned to a well known Ikea hack for our shelving needs. Of course, Ikea's VITTSJÖ shelves need a little help to look like this. But with a coat of gold metallic paint and some queen anne corners from one of my favorite DIY resources -
o'verlays - these shelves are an elegant and affordable way to display books and other treasures and the whole project is under $100 per étagère! Though I should mention that I like them best in pairs.
DIY Gold Étagère Ikea Hack
What you need. (for
one étagère)
Instructions.
Assemble your Ikea VITTSJÖ shelving unit as instructed but leave the 5 (glass or "wood") shelves off to the side.
Sand any rough spots on your queen anne corners and wipe the dust off with a damp cloth.
Take your étagère outside, put down the plastic drop cloth with the shelves standing in the center. Apply two thin layers of gold metallic spray paint. I find the finish will be the most even and smooth if you hold the can 10" away from the surface of the étagère, moving it in long sweeping motions as you spray.
Lay the queen anne corners on a corner of the tarp and spray one side. Let them dry an hour then rotate them to spray another side. Repeat until they're entirely covered in gold.
Let your étagère and queen ann corners dry overnight. (Ideally.)
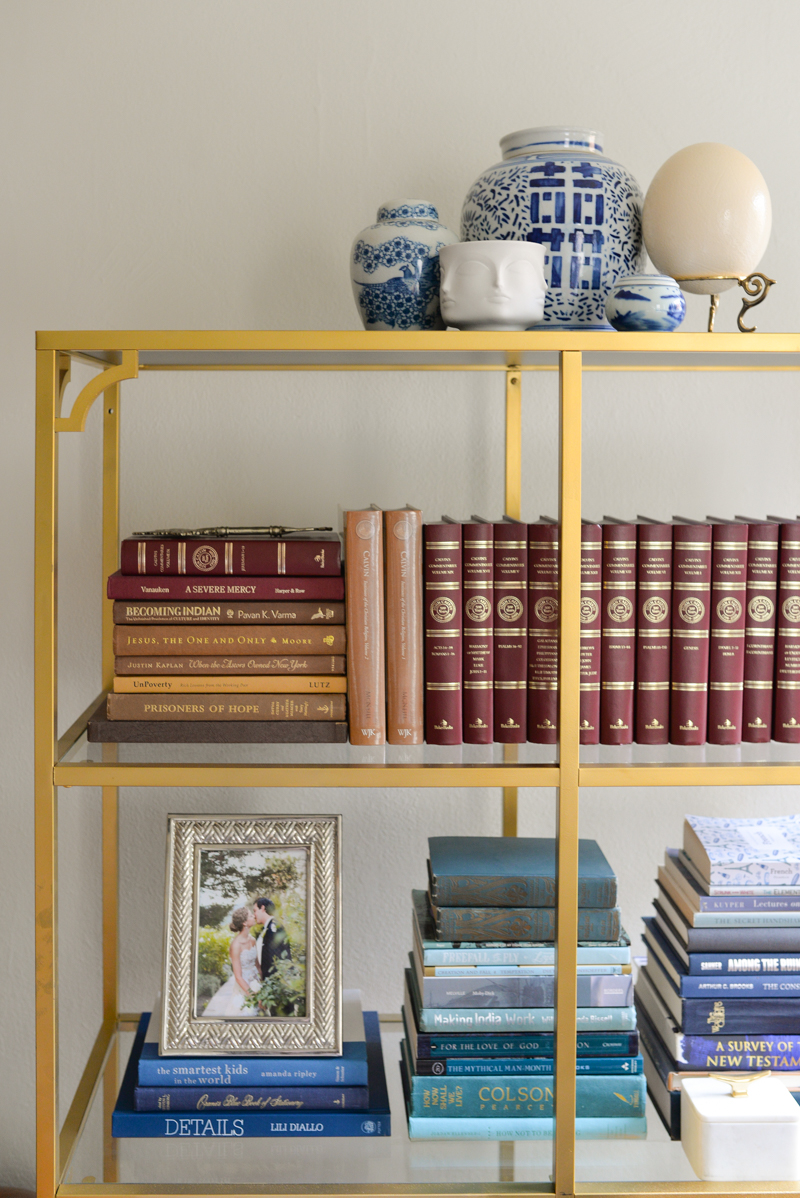
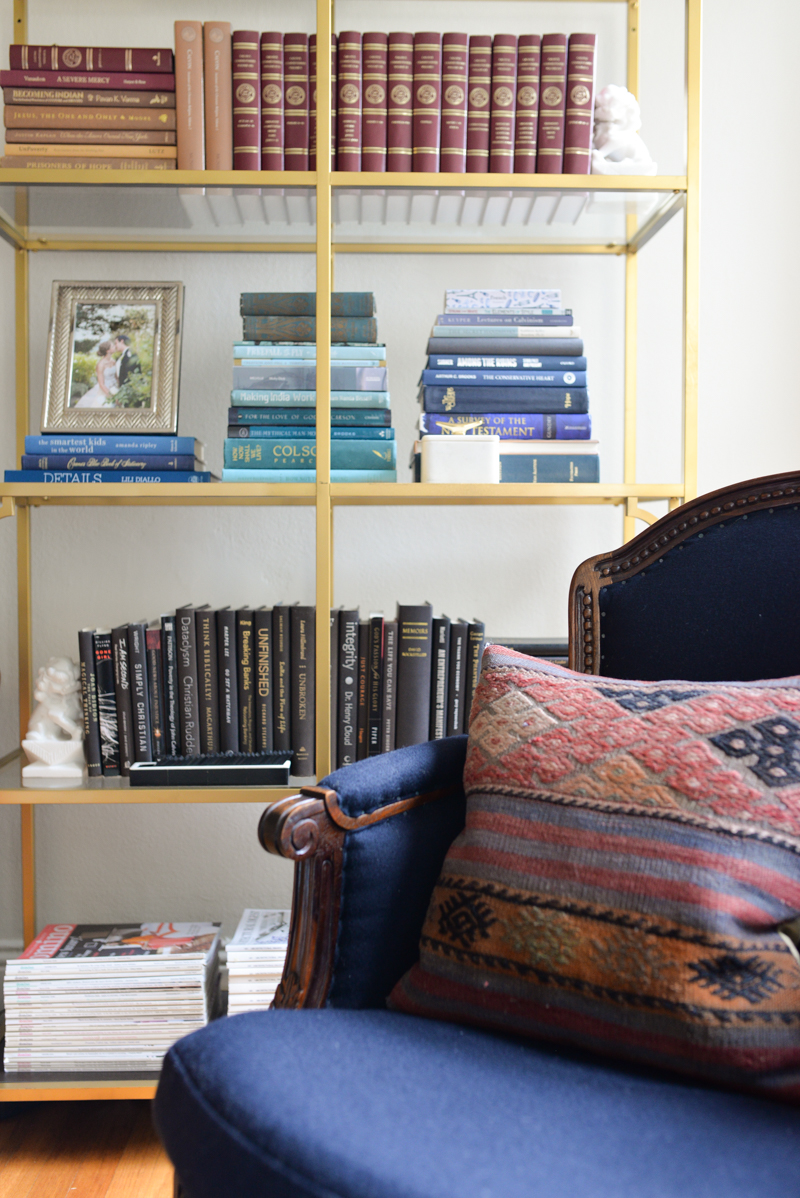
The next day, decide where you're going to place your queen anne corners. I placed mine under the top shelf and the middle shelf, but you can play with different arrangements to make your étagère more or less ornate. To attach the queen anne corners, put a tiny dot of the glue on both ends of the corner and wait 30 seconds for it to get sticky. Place the corner on the shelf and hold for a minute or two until the glue sets. Repeat with remaining corners.
Position the étagère in your room. Place the 5 shelves (3 glass middle shelves, 2 wood for top and bottom). Voila!