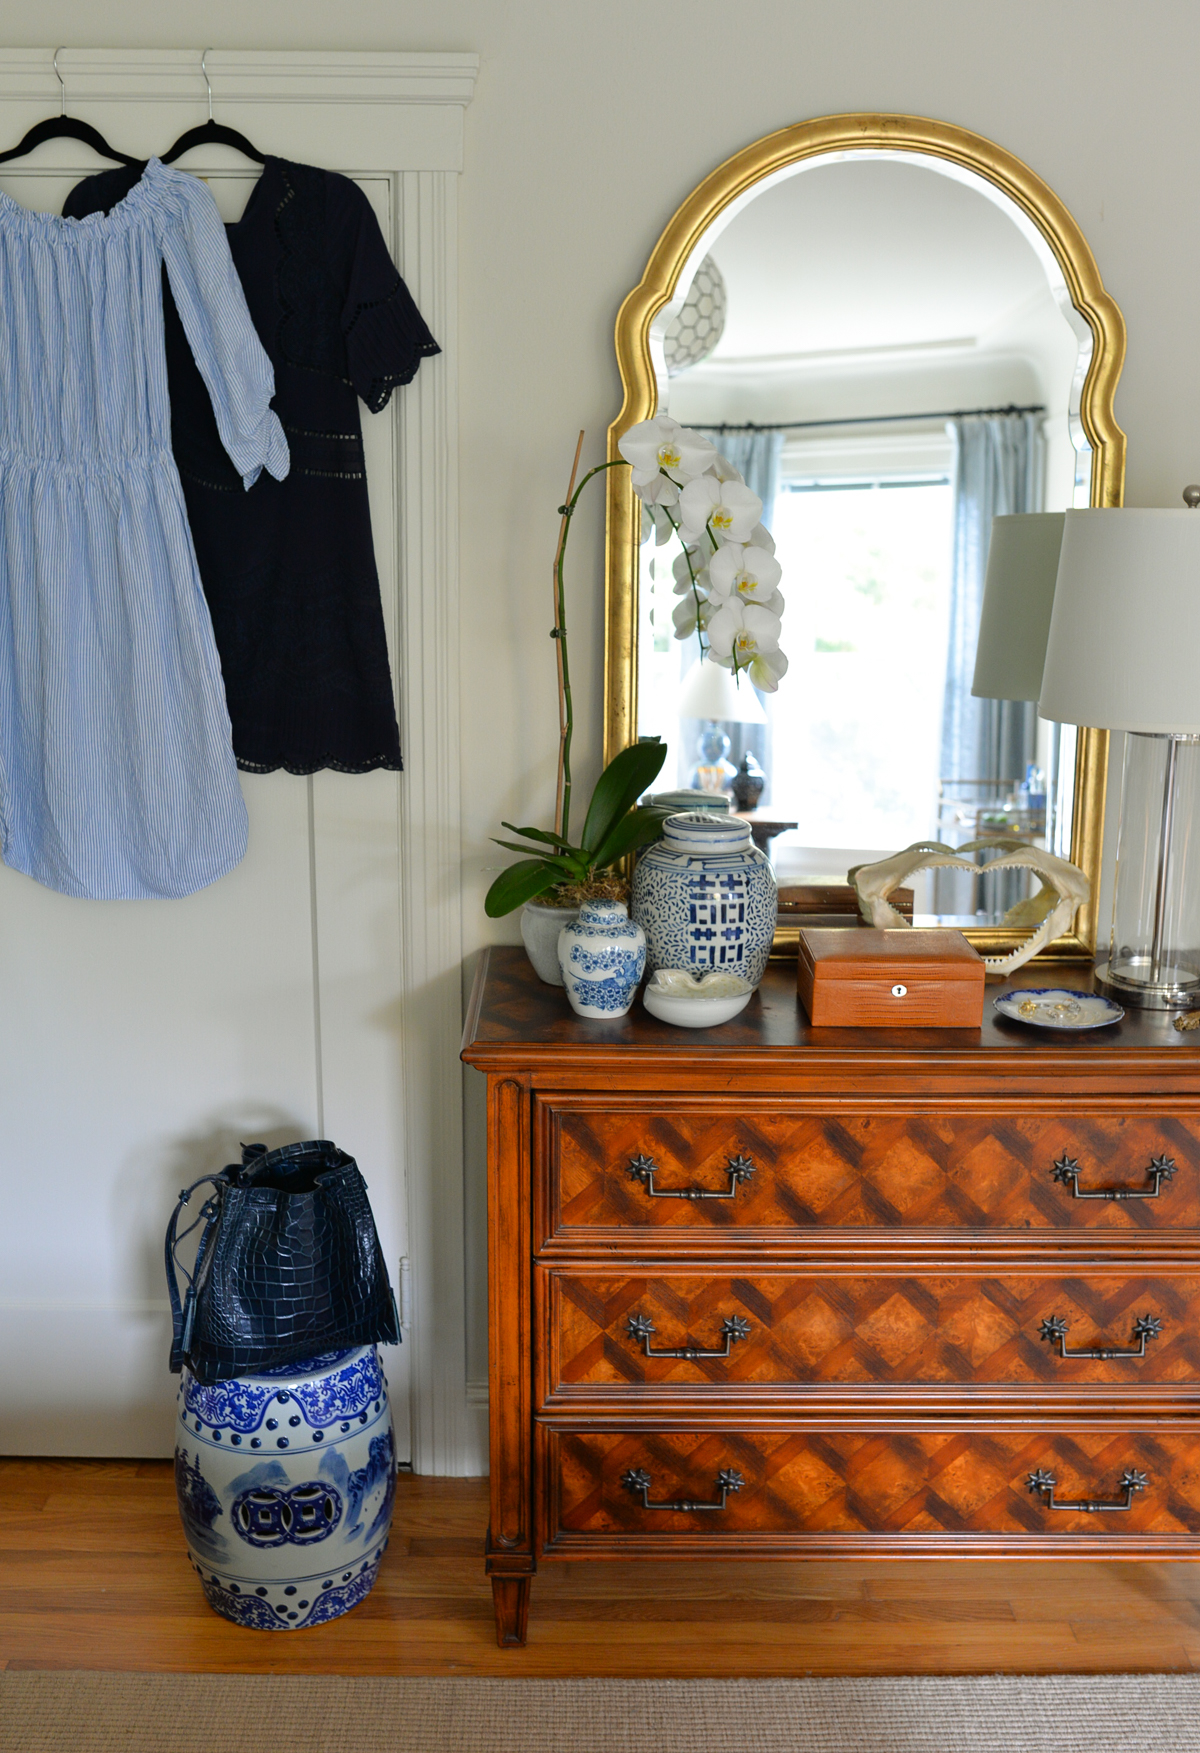
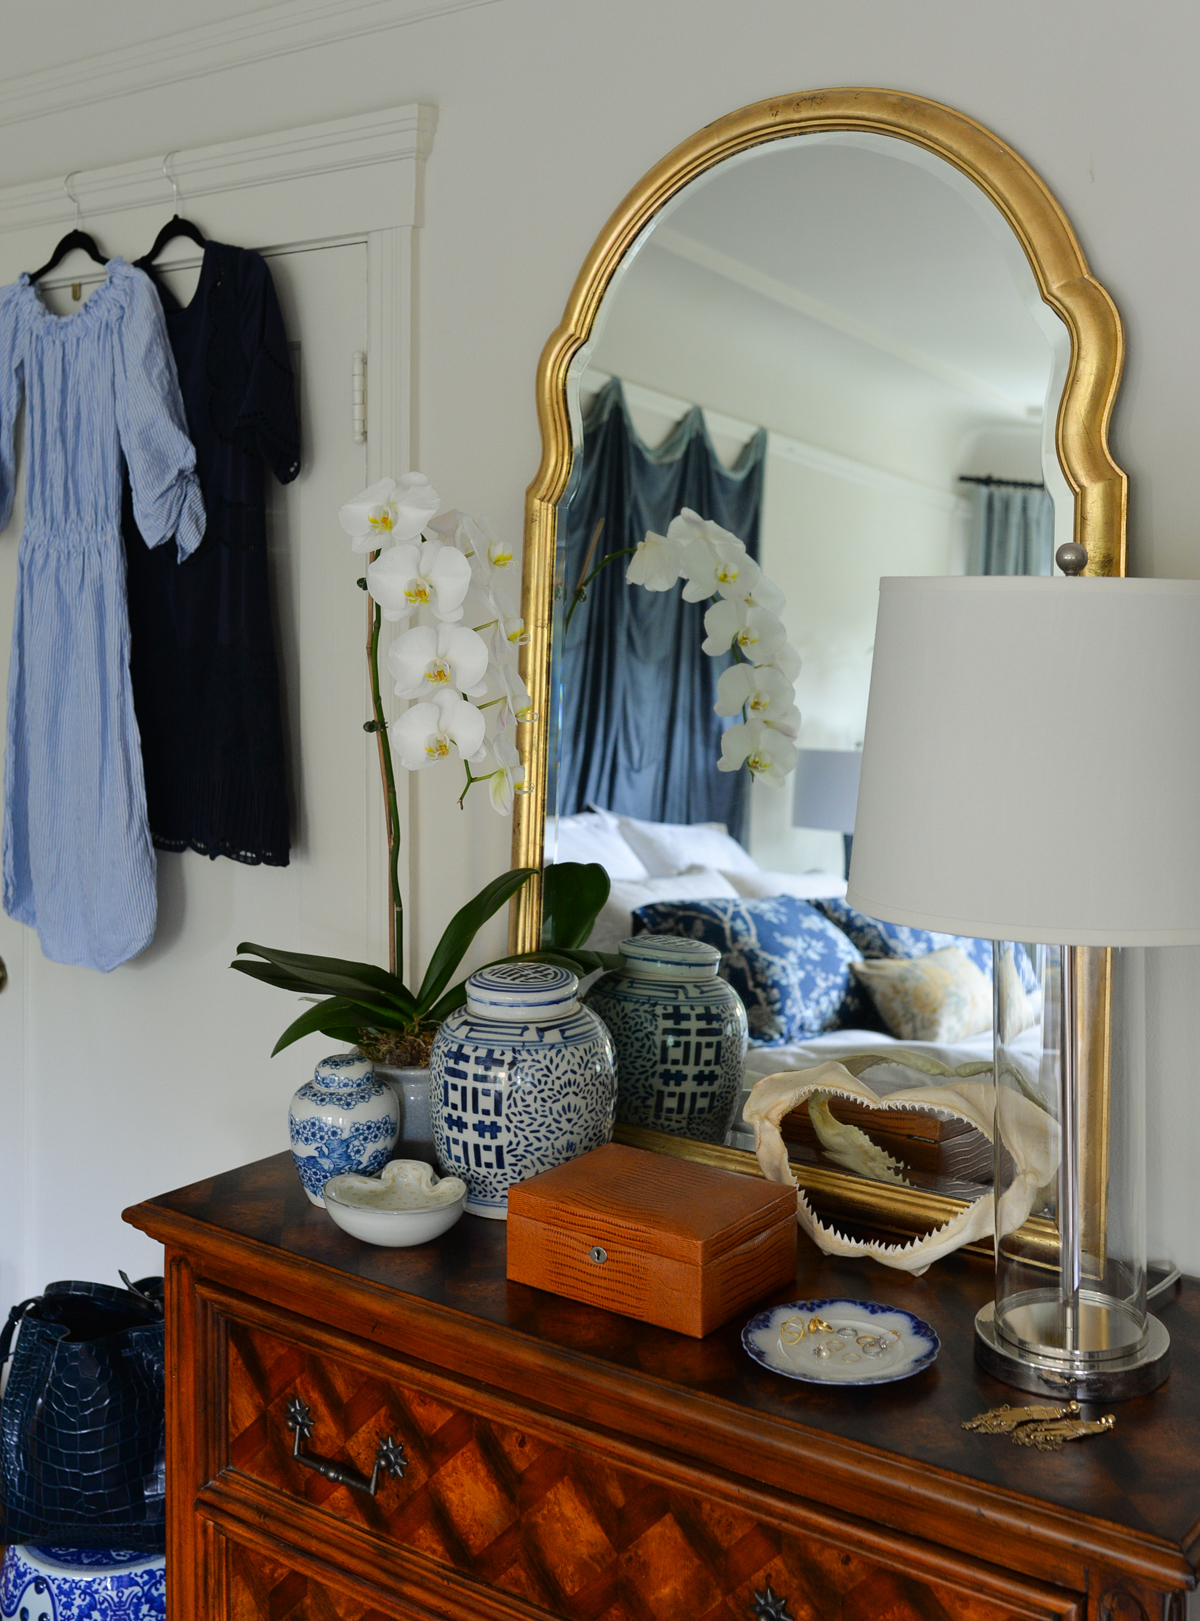
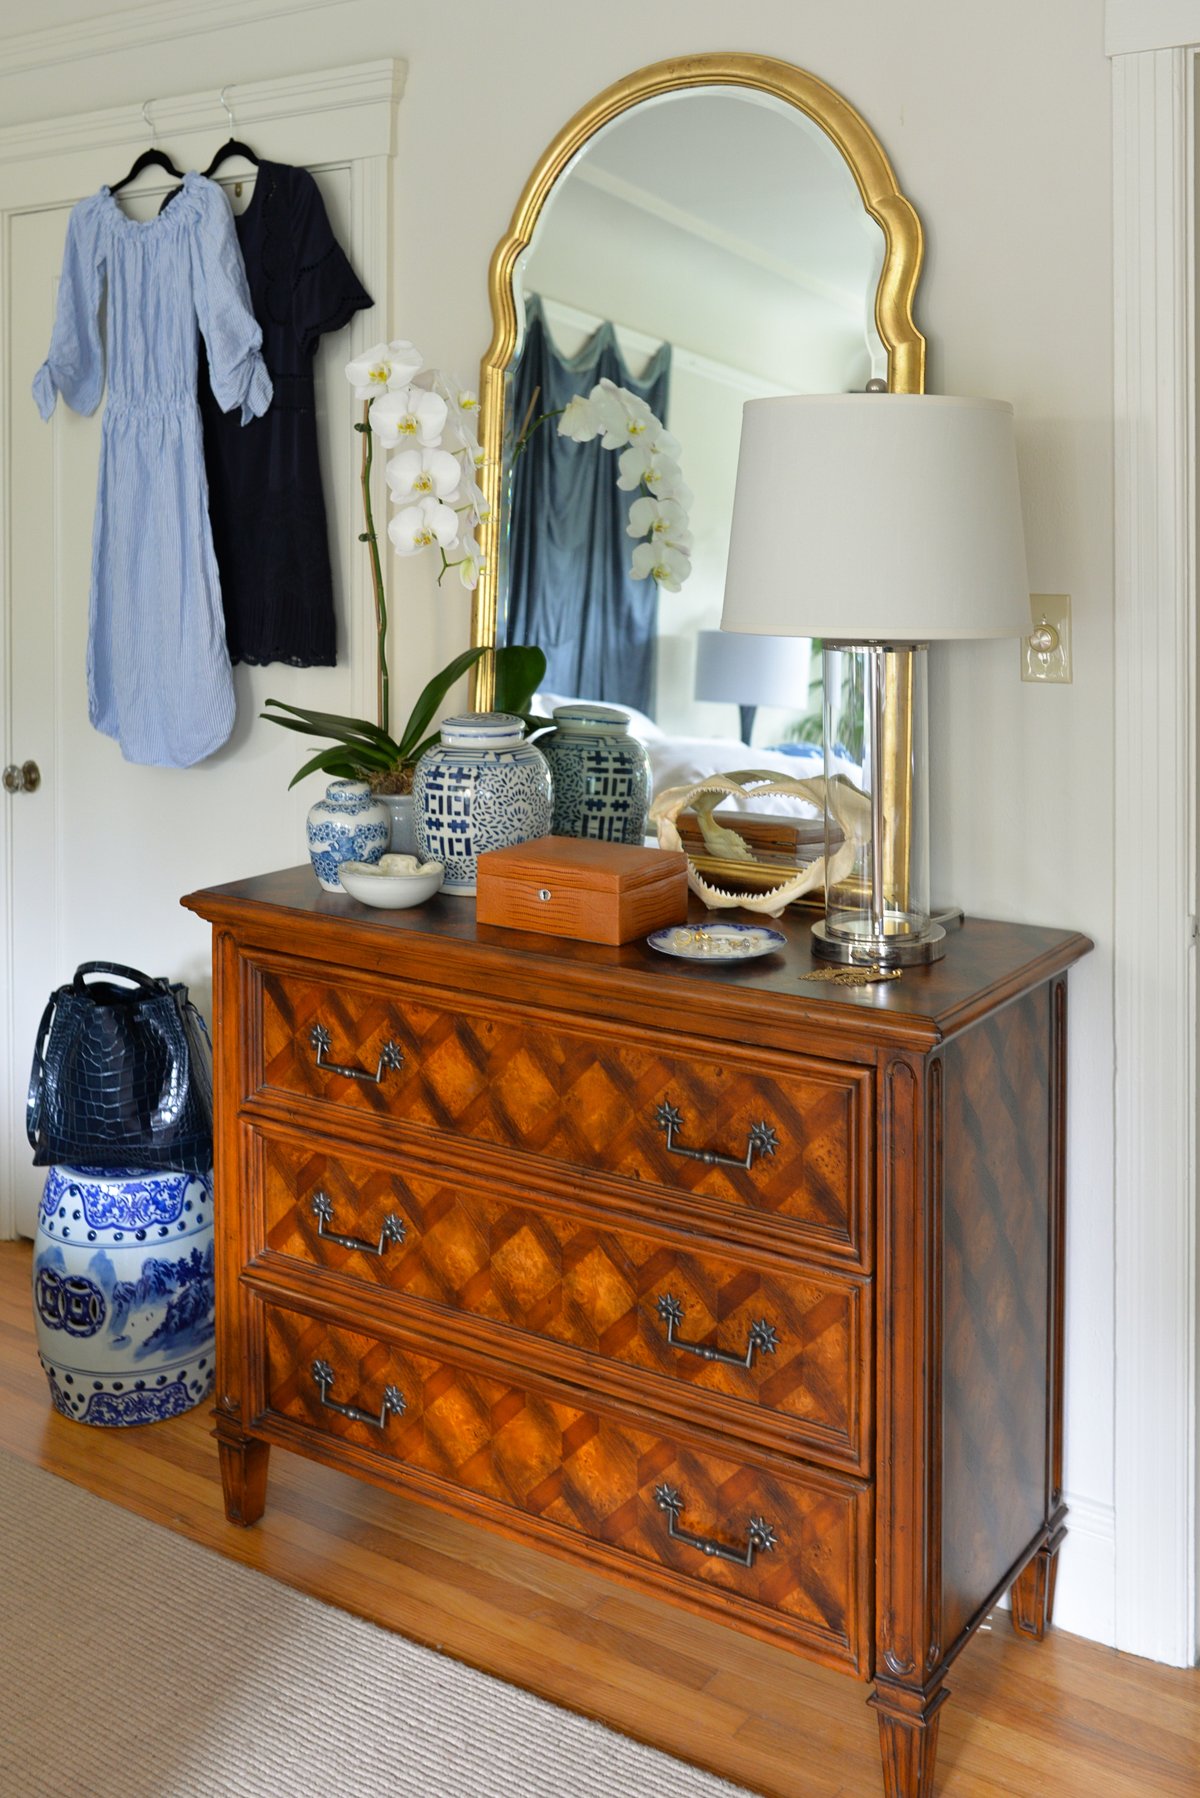
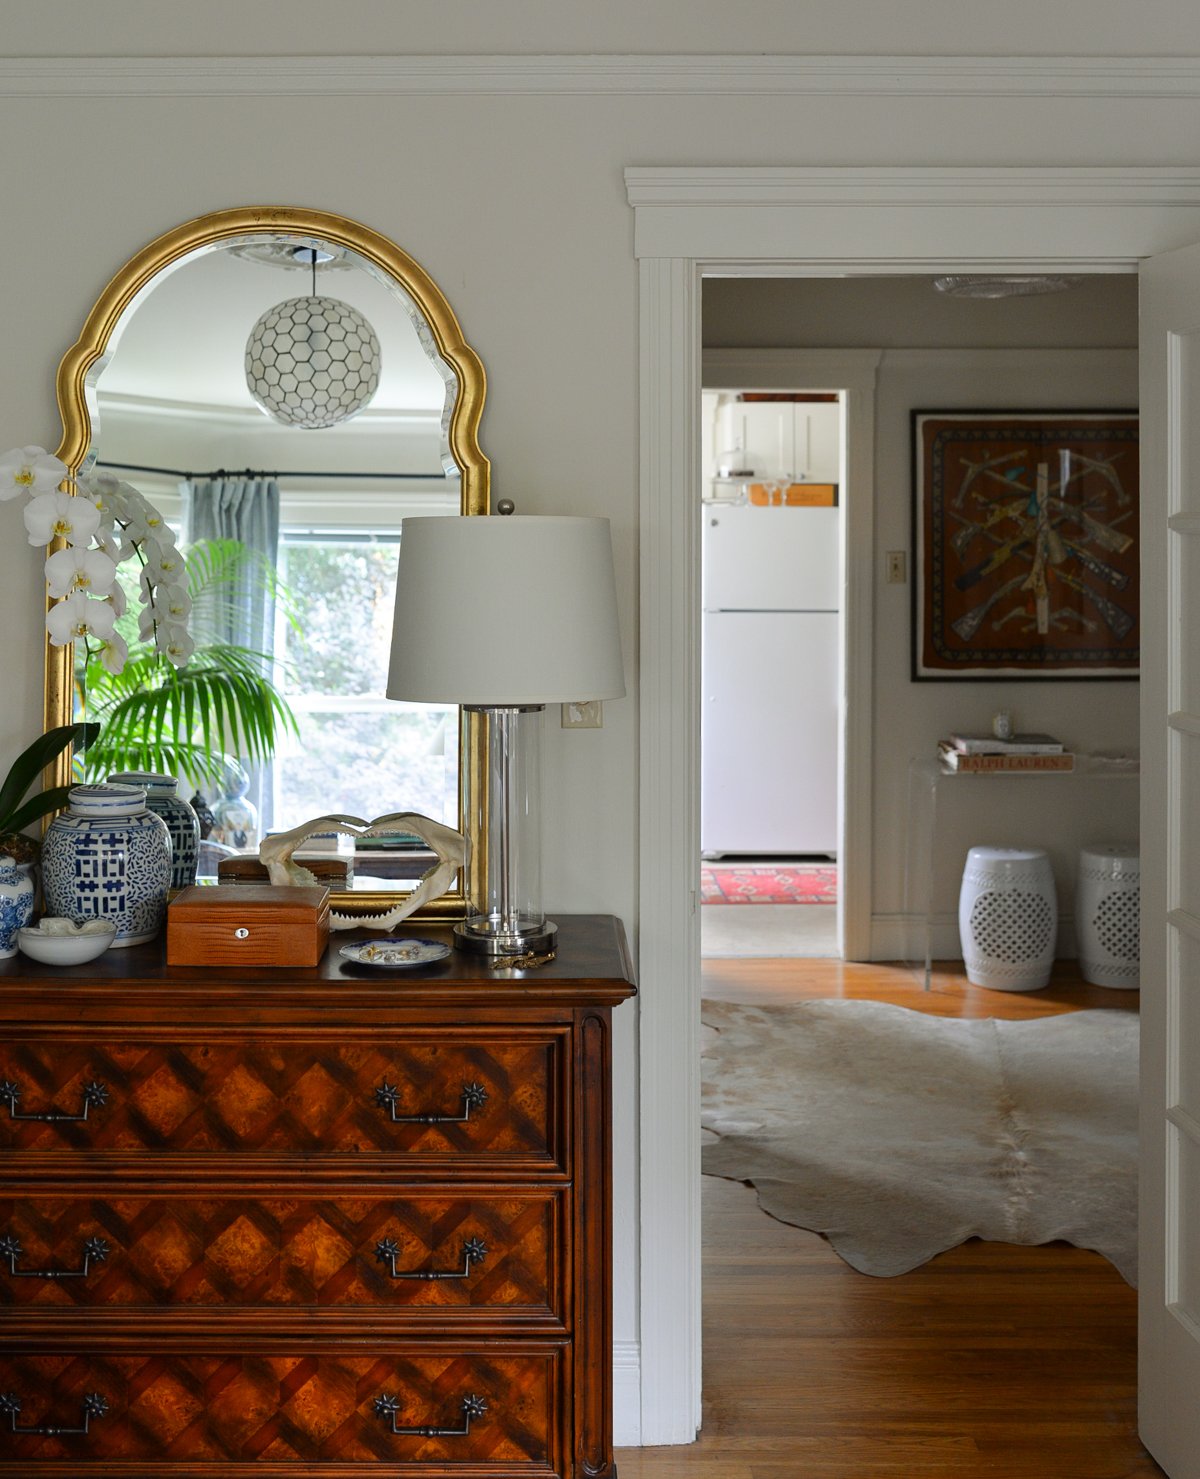
A gilt mirror is a decorating staple. Mirrors are perfect for enlarging small spaces by reflecting light and extending your field of vision, and they work well in every style of decor from traditional to modern. I love finding antique frames and giving them a facelift with a little gold leaf.
David and I found this mirror in one our favorite New York vintage stores, called "
Junk" in Williamsburg, Brooklyn. True to it's name, many of the pieces in the store need a little...um...TLC. When we purchased it the frame was stained a sticky red-brown mahogany (ick) but it was well made. You can tell because of it's weight and the beveling on the glass part of the mirror. So we snatched it up excited for it's potential.
Below are step-by-step instructions to give you the midas touch.
DIY Gilt Mirror
You need.
a mirror with a wooden frame
metal Leaf (I like
this Mona Lisa Simple Leaf)
gilding size
foam brush
tapered chisel brush
Gilders mop (another fluffy brush)
220-grit sandpaper
gloves
spray sealer
Method.
1. Add some texture to the piece and remove any old finishes with 220-grit sand-paper. Wipe down with a lint free cloth to remove dust.
2. Apply a thin layer of adhesive, called gilding size, to your item.
3. (Be sure to wear gloves so you don't leave fingerprints!) Start by pressing one sheet of gold leaf firmly onto your piece, shiny side down, onto the adhesive. Your leaf should come backed with a wax sheet to make application easier. Next use your tapered chisel brush to press the leaf into grooves and crevices. Go section by section until you've covered your whole piece.
4. Carefully remove the wax film to reveal your gold leafed surface. Take your time with this step to minimize tears.
5. Dust off the little flakes of leaf with your gilder's mop brush. I also will use the leftover flakes to fill in the seams between pieces of gold leaf if any of them show.
6. Finish your piece with a thin layer of clear acrylic spray to prevent it from tarnishing. Let the finish dry for at least one hour.
That's it! The whole process should only take a few hours depending on the size of your piece. Send me photos if you decide to gild a mirror or something else! I love seeing your projects.
xx SF
If you love DIY, be sure to check out how to make
these gold bookshelves and
this greek key console from past posts!